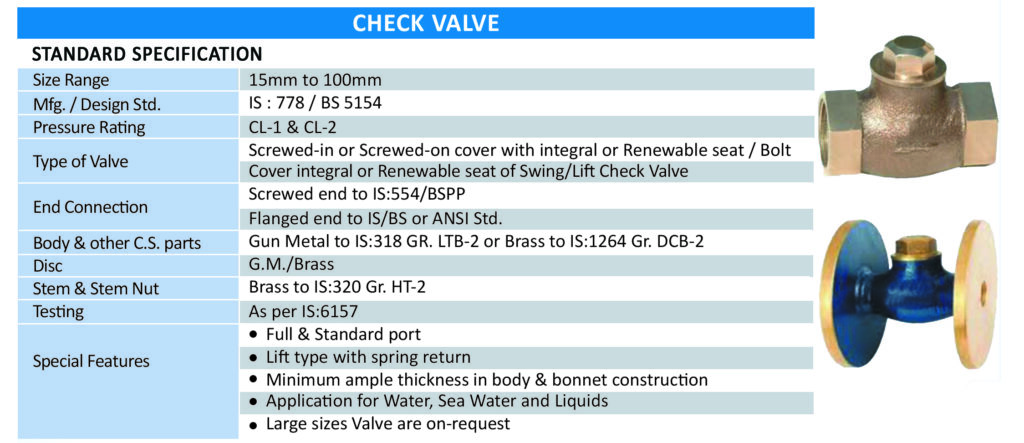
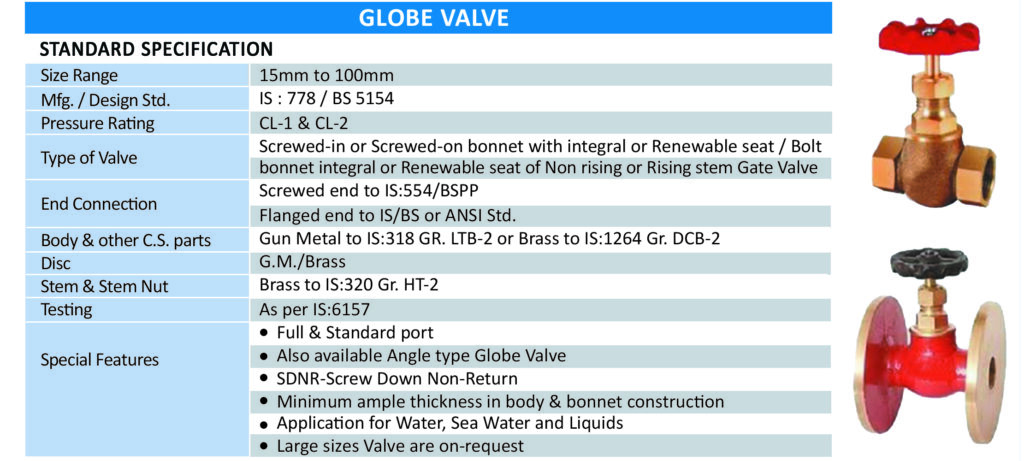
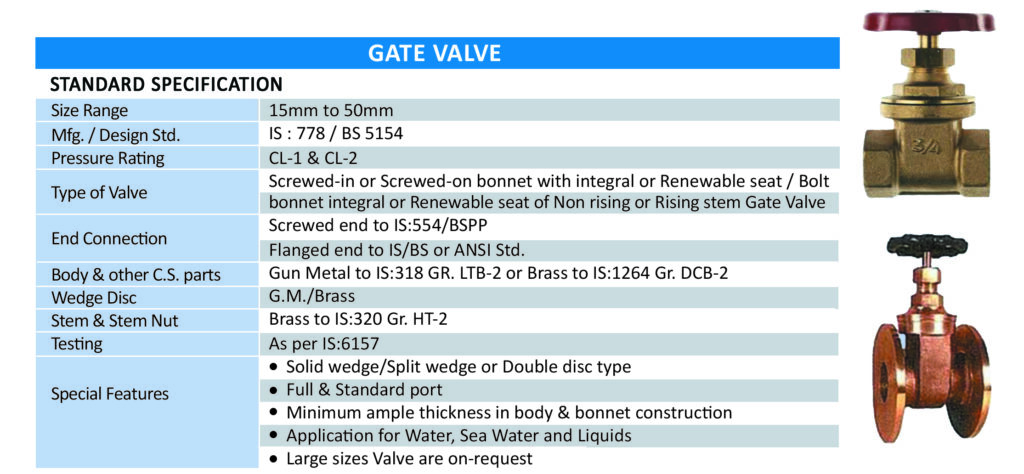
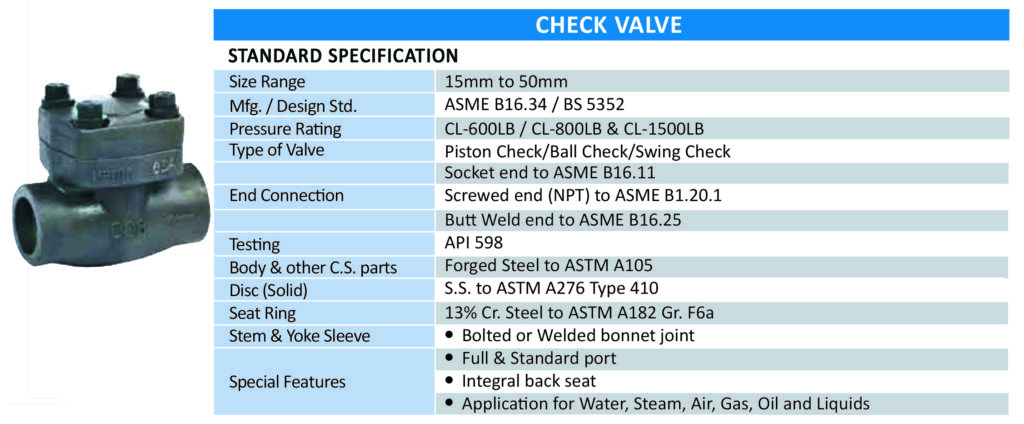
In castings manufacturing, problems rarely announce themselves early. Most defects don’t appear during pouring or cooling. They show up much later, when a component is already in use, under pressure, heat, or load.
That is why quality control and testing matter so much. Not because they look good in documentation, but because they catch what the eye cannot. At our casting industries, we don’t see quality as a marketing term. We see it as a safeguard for your machinery, your timelines, and your reputation.
Where Most Casting Problems Actually Begin
The idea that casting failures occur during use is a prevalent myth. In actuality, the majority of issues—such as inconsistent raw materials, erroneous melting points, and improper mould preparation- begin far earlier. Every little change increases the risk. The entire process is impacted if these risks are not addressed in a timely manner. Quality control in casting manufacturing starts even before the metal melts.
Raw Material Checks Set the Foundation
Every casting depends on its chemical composition. If the base material is wrong, no process correction can fully fix it later.
For Cast Iron Castings, carbon balance affects hardness and machinability.
For Ductile Iron Castings, nodularity defines flexibility and impact resistance.
And for Cast Steel Castings, alloy consistency determines strength and fatigue life.
For Manganese Steel Castings, composition controls abrasion resistance.
We test incoming materials because guessing is expensive. A single incorrect element can weaken an entire batch.
The High-Risk Phases of Melting and Pouring
Molten metal does not forgive mistakes. Internal structure can be silently harmed by temperature changes, slag development, or gas trapping. We keep a close eye on temperature and chemistry throughout the melting process. We regulate flow and speed during pouring to prevent turbulence.
These steps do not guarantee perfection. They reduce risk, and in castings manufacturing, risk reduction is everything.
Mould and Pattern Accuracy Affect More Than Fit
Surface integrity is just as important as dimensional precision. Surface flaws may result from inadequate mould compaction. Unnoticed discrepancies may be introduced via pattern wear.
Shrinkage cavities may result from improper gating. During the mould preparation process, quality inspections avoid problems that machining may not always be able to fix later. Rework is never the only expense incurred when a casting does not fit correctly. Your entire process is delayed as a result.
Heat Treatment Is Where Properties Are Proven
Heat treatment is not a routine step. It is a critical transformation stage. Incorrect heating cycles can make castings brittle. Improper cooling can reduce strength or introduce residual stress.
We test samples after heat treatment to confirm results. This ensures your casting behaves the way it was designed to behave.
For Ductile Iron Castings and Cast Steel Castings, this step often determines service life.
Mechanical Testing Removes Assumptions
Mechanical testing answers simple questions honestly.
- How much load can it take?
- How does it behave under sudden impact?
- Or How resistant is it to wear?
Tensile tests, impact tests, and hardness tests provide numbers, not opinions. When you receive tested castings, you are not relying on expectation. You are relying on evidence.
Non-Destructive Testing Finds Hidden Weaknesses
Some of the most dangerous defects are invisible. Like internal cracks, gas pockets and subsurface inclusions. Non-destructive testing allows us to find these without damaging the component.
Ultrasonic testing checks internal continuity. Magnetic particle inspection reveals surface flaws. Radiographic testing exposes internal voids. This step protects you from failures that would otherwise appear months later.
Metallurgical Testing Explains Why a Casting Behaves a Certain Way
Metallurgical analysis shows the internal structure of metal. It explains strength, brittleness, and wear behaviour.
- For Cast Iron Castings, it confirms the graphite structure.
- For Ductile Iron Castings, it verifies nodular formation.
- And, for Manganese Steel Castings, it confirms work-hardening capability.
This testing helps ensure long-term performance, not just initial acceptance.
Final Inspection Is the Last Line of Defence
Before dispatch, every casting goes through a final inspection. Dimensions are checked against drawings. Surface finish is evaluated. Traceability and identification are confirmed.
This phase captures what previous processes could overlook. It guarantees that you receive what your provider promises.
How Quality Control Improves Outcomes for You
Reliable castings reduce unexpected downtime. Consistent quality improves equipment efficiency. Fewer failures mean lower maintenance costs.
Quality control does not eliminate problems completely. It minimises their impact before they reach your operation. That difference matters when schedules are tight and margins are thin.
Why Shree Krishna Industries Focuses on Process Discipline
At Shree Krishna Industries, we don’t believe quality comes from one test.
It comes from controlling every stage consistently. Our experience across Cast Iron Castings, Ductile Iron Castings, Cast Steel Castings, and Manganese Steel Castings allows us to understand where risks usually hide. When you work with us, you are choosing a castings manufacturing partner who values reliability over shortcuts.
FAQs
1. Why is quality control so important in the production of castings?
because testing is the only way to find many hidden flaws early on.
2. Does testing increase production time?
Some testing adds time, but it prevents far greater delays later.
3. Do all castings undergo the same testing procedure?
No. Different materials require different inspection and testing methods.
4. How does non-destructive testing help buyers?
It identifies internal defects without damaging usable components.
5. Can quality testing reduce long-term costs?
Yes. Reliable castings reduce maintenance, replacements, and downtime.

